
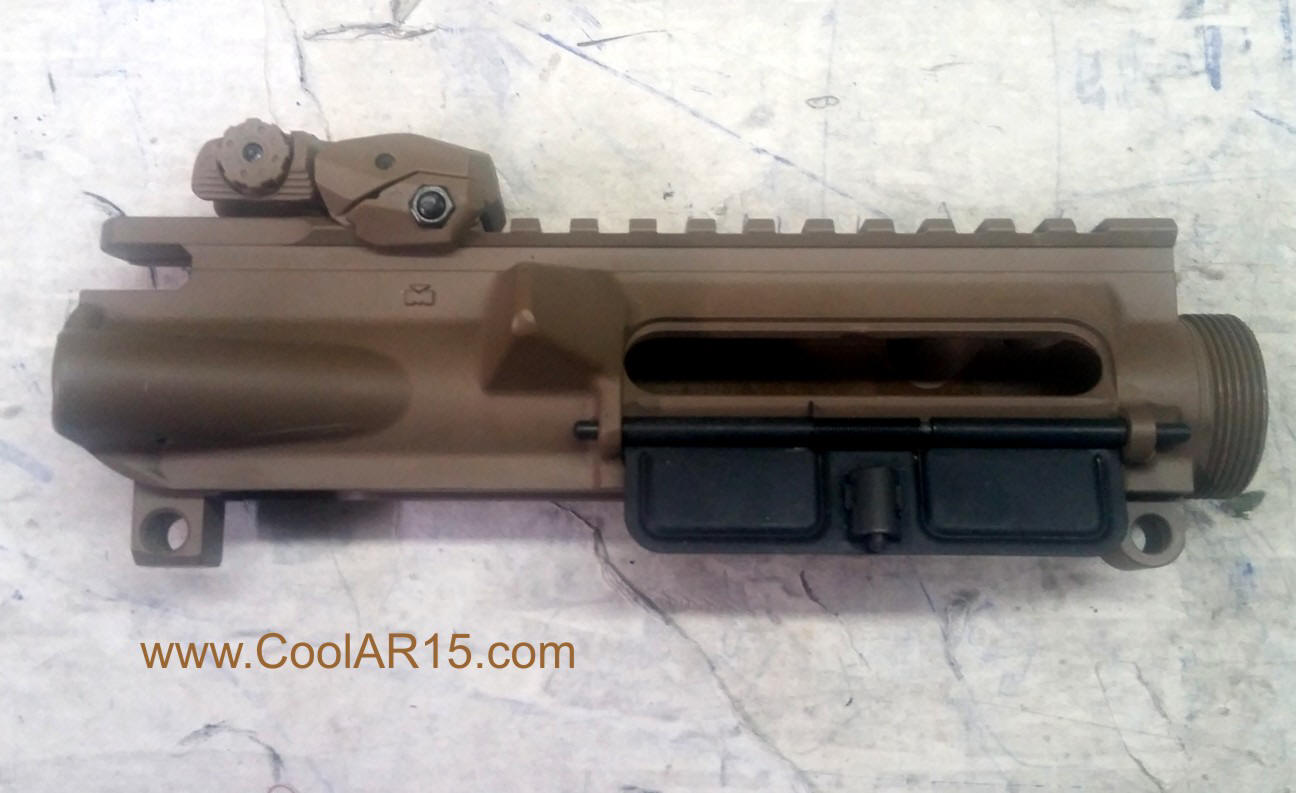
Almost every upper I have ever started a build on was at least slightly out of square and usually use billet receiver setsl I like many others will buy some of the budget blem receivers on a clearance sale and really have to be careful to square the upper. If upper is not perfectly square then barrel will be in a bind, not perfectly in line with receiver or bolt. This leads to accuracy and durability issues, especially broken bolts. In high pressure cartridges like 6.8 spc II and 22 Nosler its mandatory. Even ARP will not warranty their high dollar Superbolt if upper was not squared. Here we are going to show you how to square your upper and get it ready to install your barrel.
PREPPING UPPER FOR BUILD
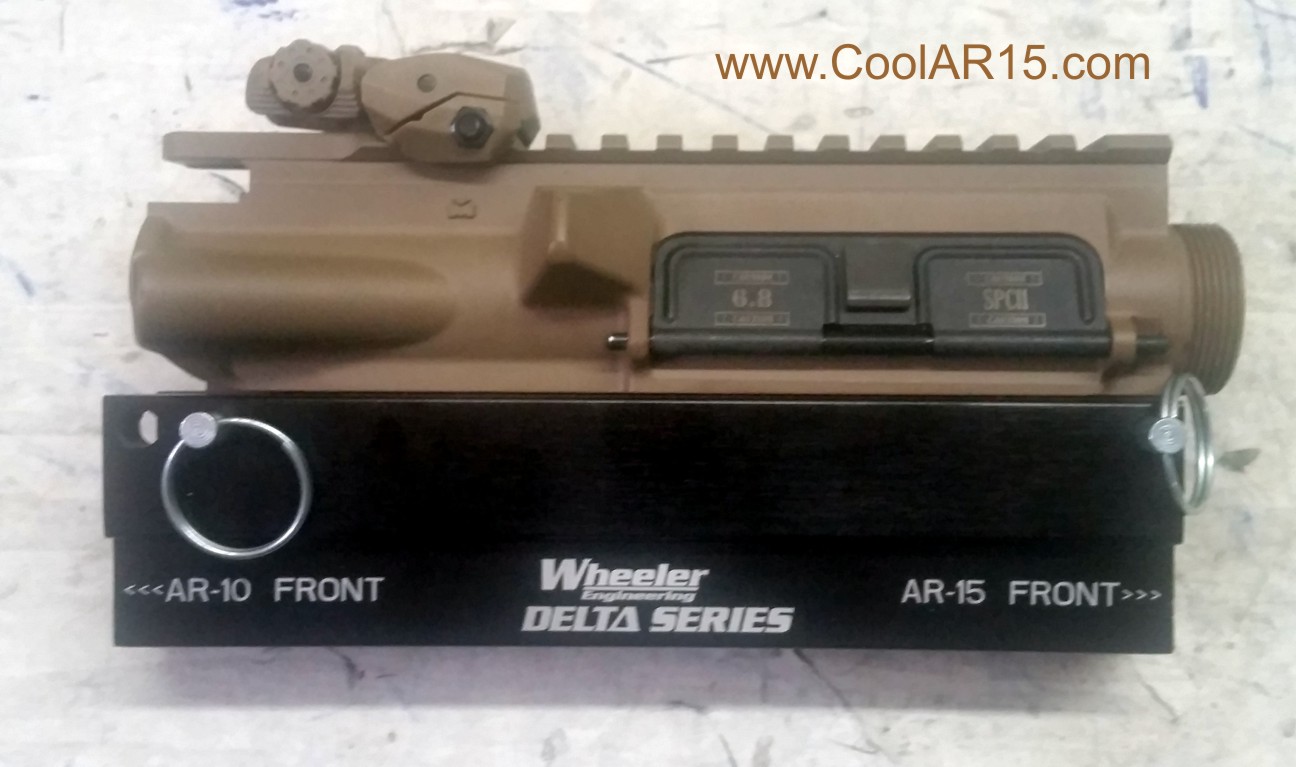
Choosing the correct holding fixture is important for this job. It can be done adequately in one of the inexpensive plastic clam shell holders but I prefer the Wheeler Delta Series as can hold an AR 15 or AR 10 by their receiver pins of any part with a picatinny rail using the rail in appropriate slot.
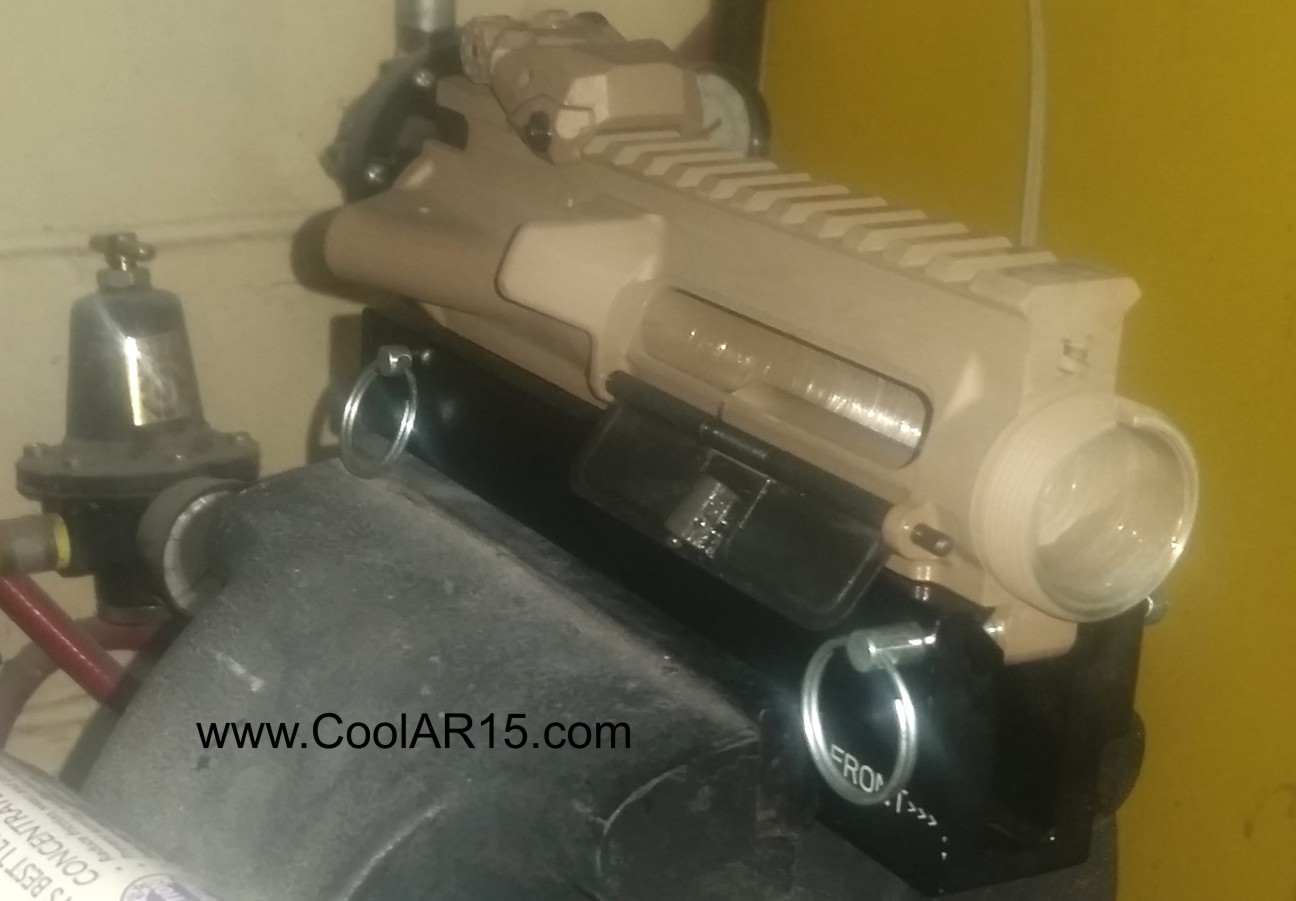
VICING AND INSERTING LAPPING TOOL
With the upper firmly viced, insert the lapping tool (Wheeler Delta Series Upper Receiver Lapping Tool) with moderate amount of lapping compound on shouder and a small amount on shaft. I also run my finger around front of receiver with a bit. I use a cordless drill to run my lapping tool making sure not to remove too much material or damage threads of upper.


WHEELER UPPER LAPPING TOOL & USE
Below is the tool with flexible shaft installed and engaged with surface of upper. As the front of the upper is being squared the shaft is also removing any high spots inside the receiver which allows the bolt to mesh better with new upper and less chance of any bolt binding during break in period.


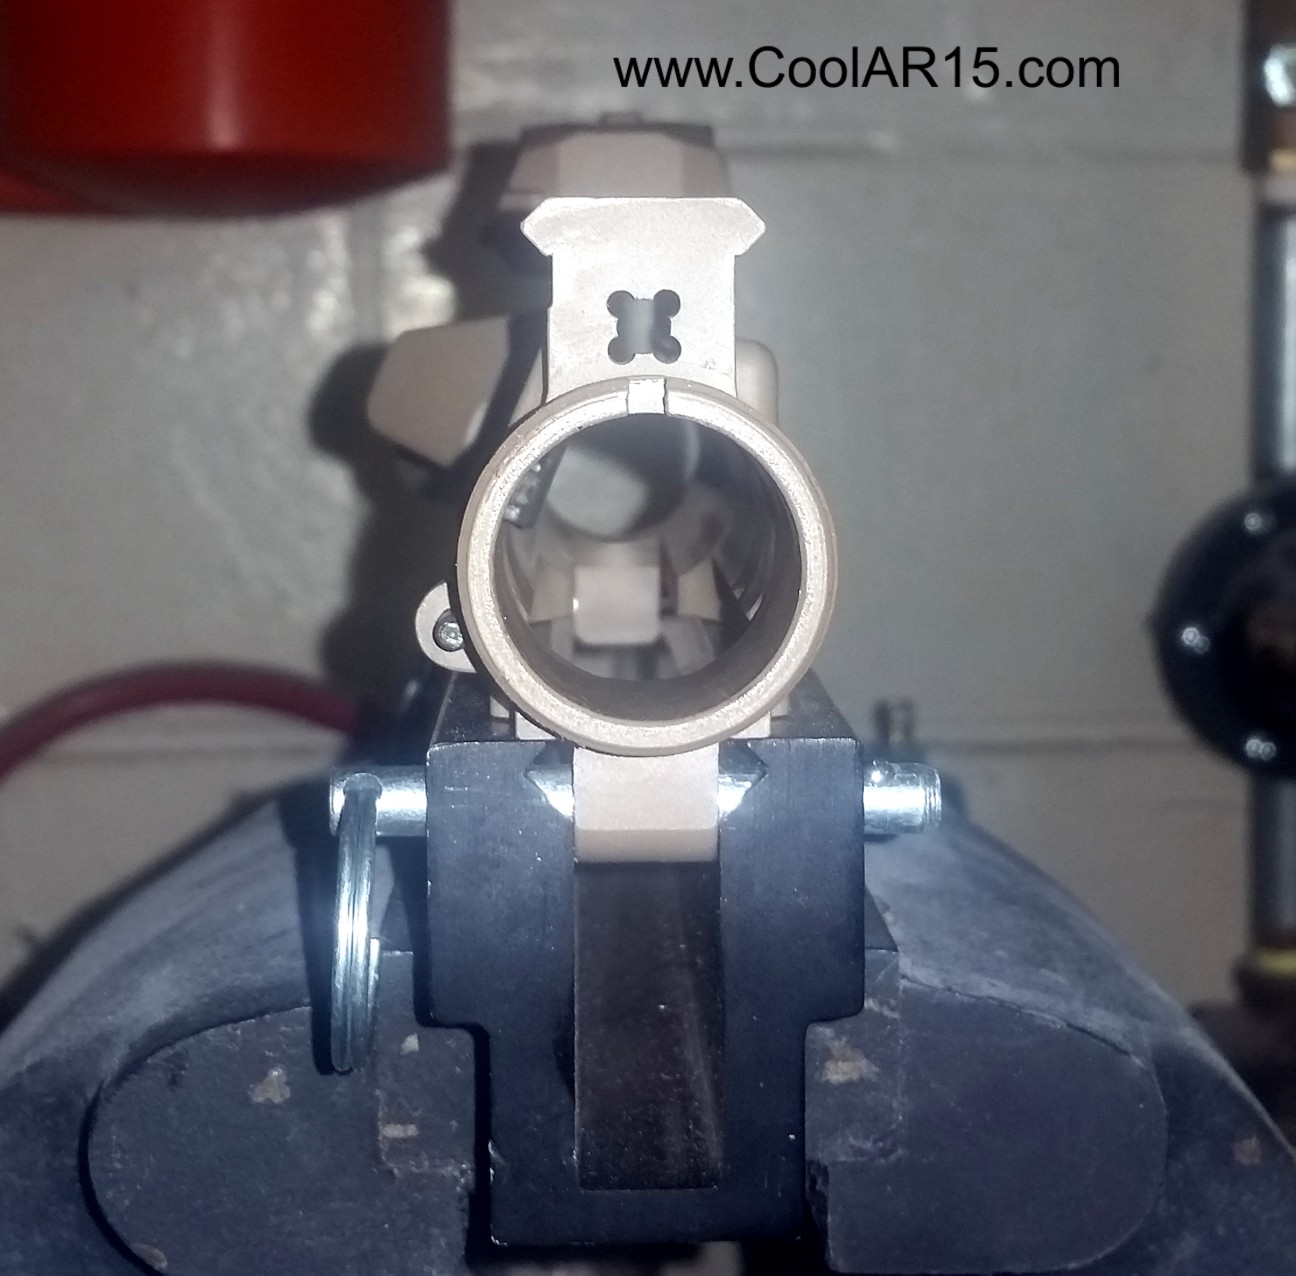
RESULT OF LAPPING UPPER IS OBVIOUS
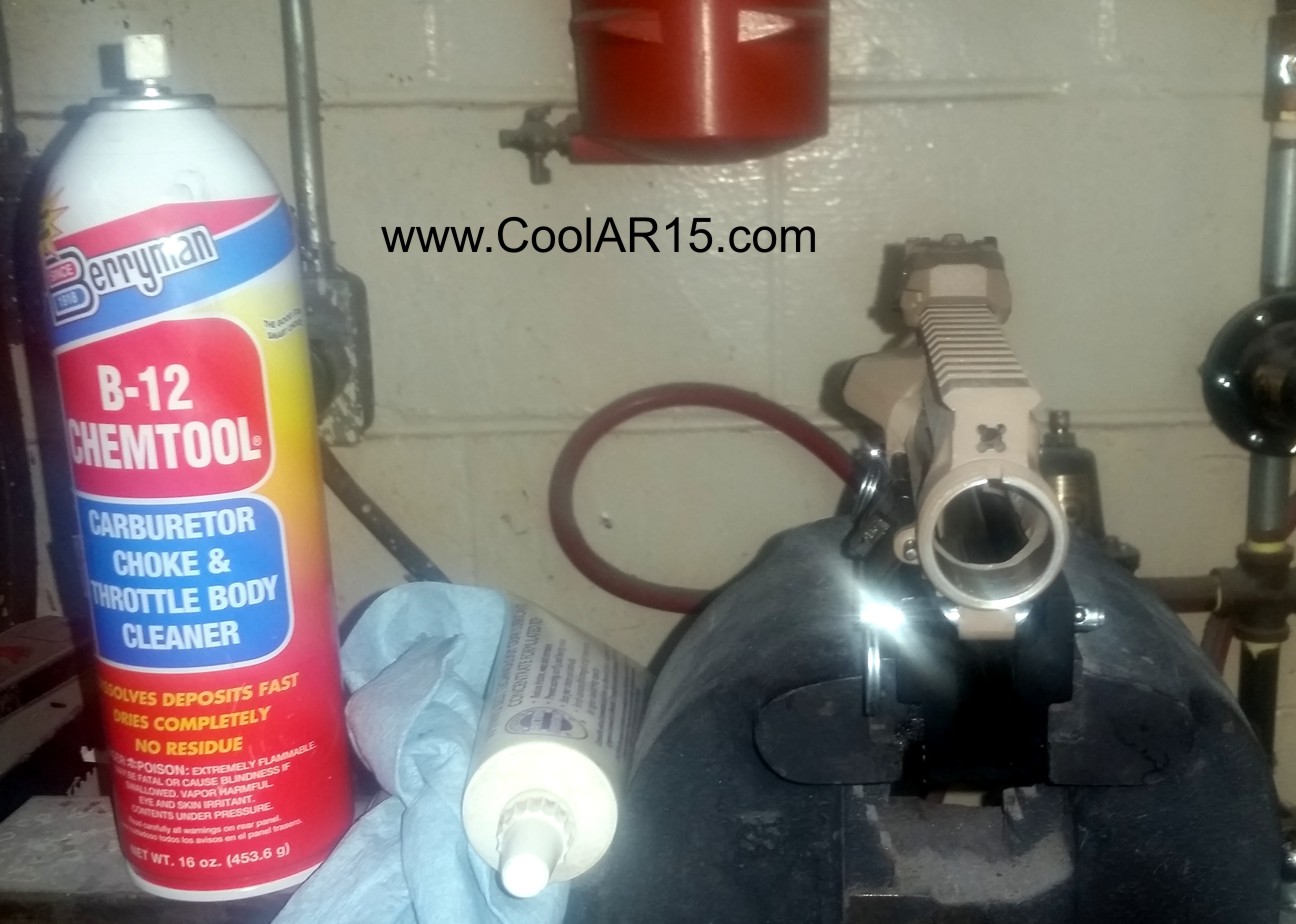
These are not the best pictures as shot with my phone. On future builds am going to break out the professional DSLR's with proper product lighting so we can get sharper images. Thes will suffice for now. Notice that I stop soon and notice the finish is starting to thin at receiver fronts lowest area. On this from front will notice the 11:00 to 5:00 clock area has seen substantial removal of mateial while the 6:00 to 10:00 area just a little lip on inside edge has been removed and most of the Cerakote is still left, especially around 7:00 clock position.

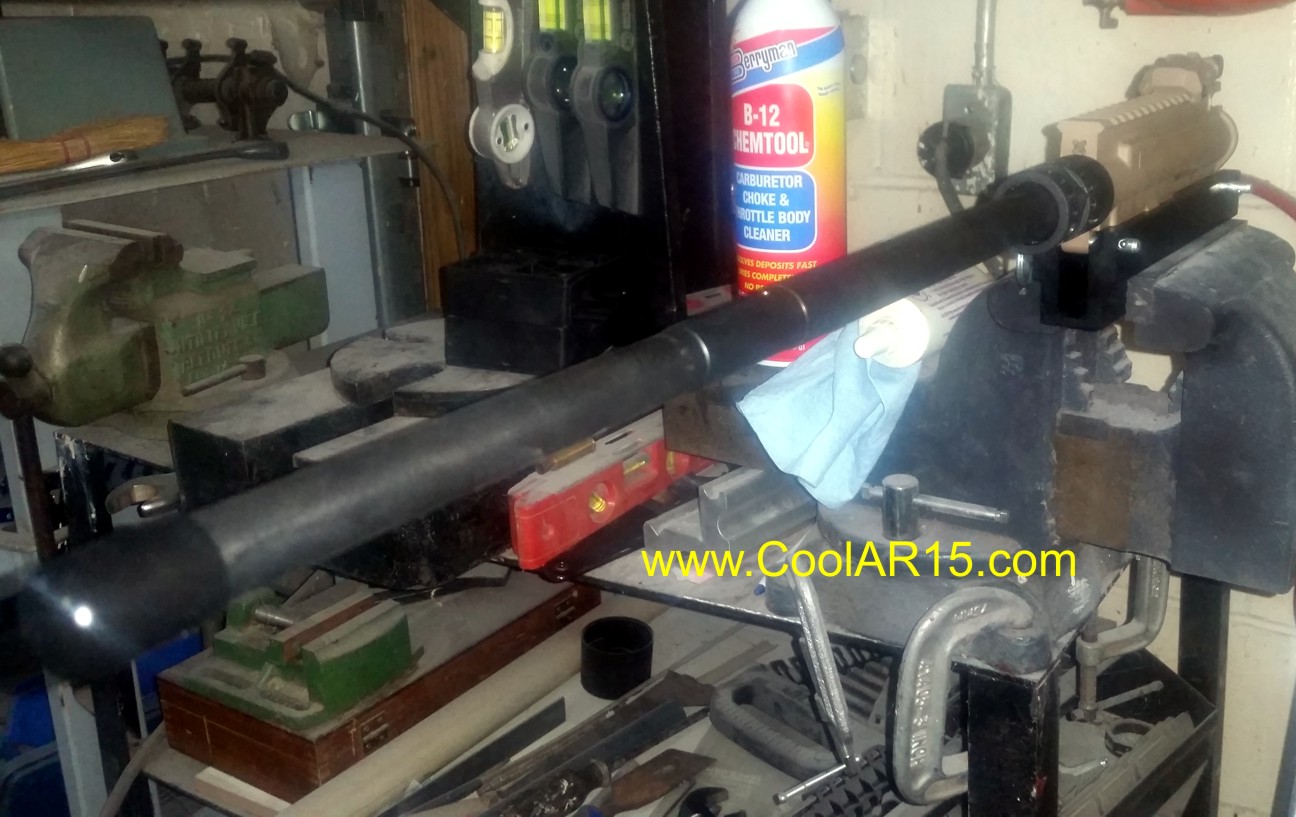
NOW READY TO CLEAN & INSTALL BARREL
First notice the areas inside bolt run that have had material removed. Normally this would be worn by bolt as the two parts meshed together during break in period. Wear would have been mostly on receiver as bolt carrier is made from steel but would have worn any proprietary coatings on bolt in process. Starting with an upper that now will allow freerer and true path for bolt and square front on receiver for barrel installation makes a more durable and accurate rifle. If build more than a couple of AR's in a lifetime this is a must have tool. If only build one or two then get someone to square your receiver for you. Expecially if using a bargain blem unit. Most gun smiths can true a receiver and many part time smith/advanced hobbiests like me have these tools. Also notice the can of cleaner for removing lapping compound totally and the anti-sieze for contact area of receiver and barrel extension.
guns in america, an explanation
for our european friends
NAVIGATION


ALL OF THE PHOTOS AND TEXT ON THIS SITE IS COPYRIGHTED. NO PORTION MAY BE REPRODUCED WITHOUT EXPRESSED WRITTEN CONSENT.
Join the N.R.A., Save Your Rights

