

1978 H-D FLH BUILD: PAGE 6
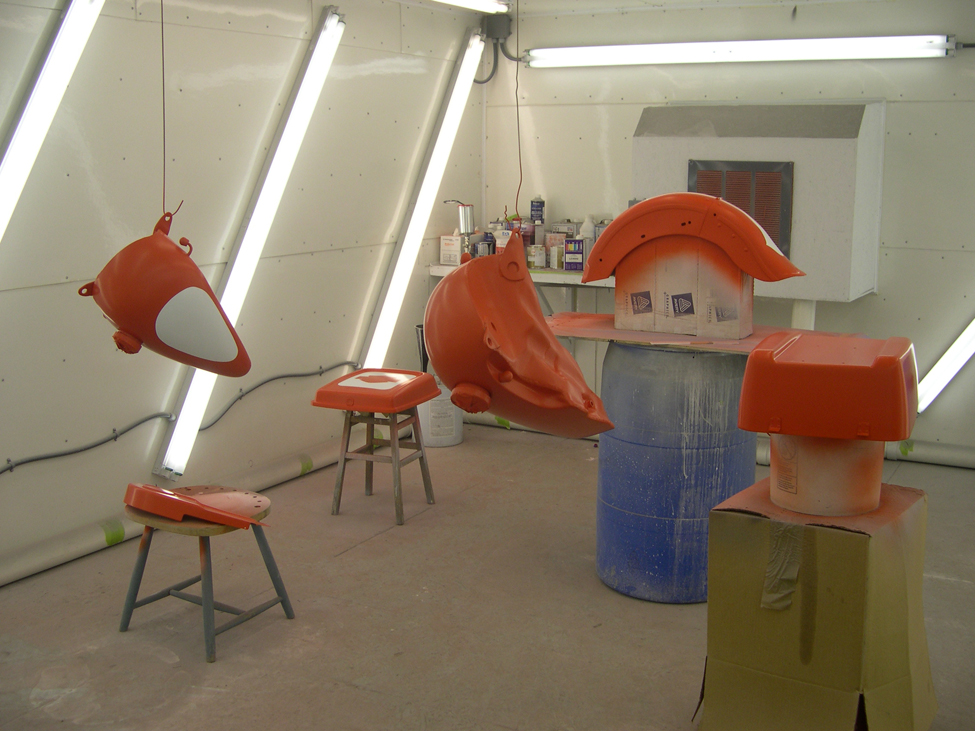
I sprayed all of the final paint at Kent Waters Originals custom car shop. Kent builds custom resto-rods and does factory correct restorations of vintage muscle cars. Even though he was trying to get two cars done for the Barrett-Jackson Auto Auction he still was gracious enough to let me gum up his spray booth for a week while I laid all of my coats of paint. I can't say enough about how good my friends were to me through this build. My guess is over 30 people participated in some fashion or another of this build but I did 70% of the work myself. I was so worried about quality of the paint I bought a 900 dollar spray gun just to lay the final coats of pearl and clear.
LAYING DOWN SOME PAINT


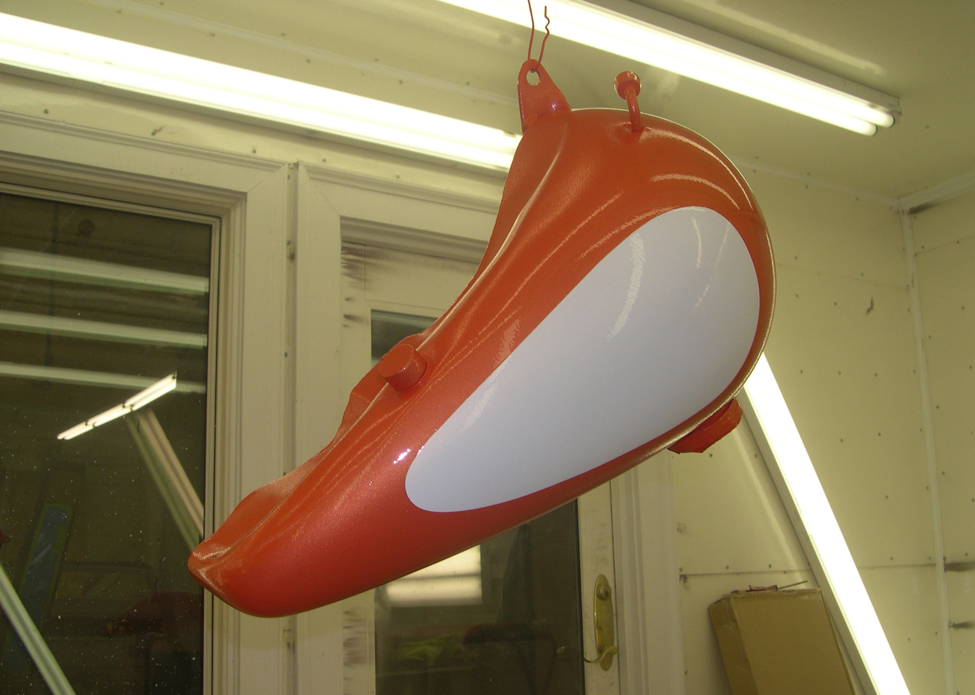
The concept for the paint scheme was mostly traditional MOCO design elements blended together with a subtle twist to attain a factory feel with a custom flair. The stripe on the fenders is actually a shape from an older Harley tank graphic that I simplified, repeated, mirrored the repeated again and combined the pieces to make something that I haven't seen before but has a comfortable feeling of familiarity. The tanks are very close to factory paint design.
I used Limco basecoat/clearcoat through a SATA digital HVLP spray gun. The first coat once I got in the spray booth was a sealer to smooth up the texture of the primer and give the final colors a good base to adhere to. Next came two coats of white. I really like to paint everything white before laying any colors. After the white dried overnight I knocked it down with a 3M scotchbrite pad and applied the mask for the designs.


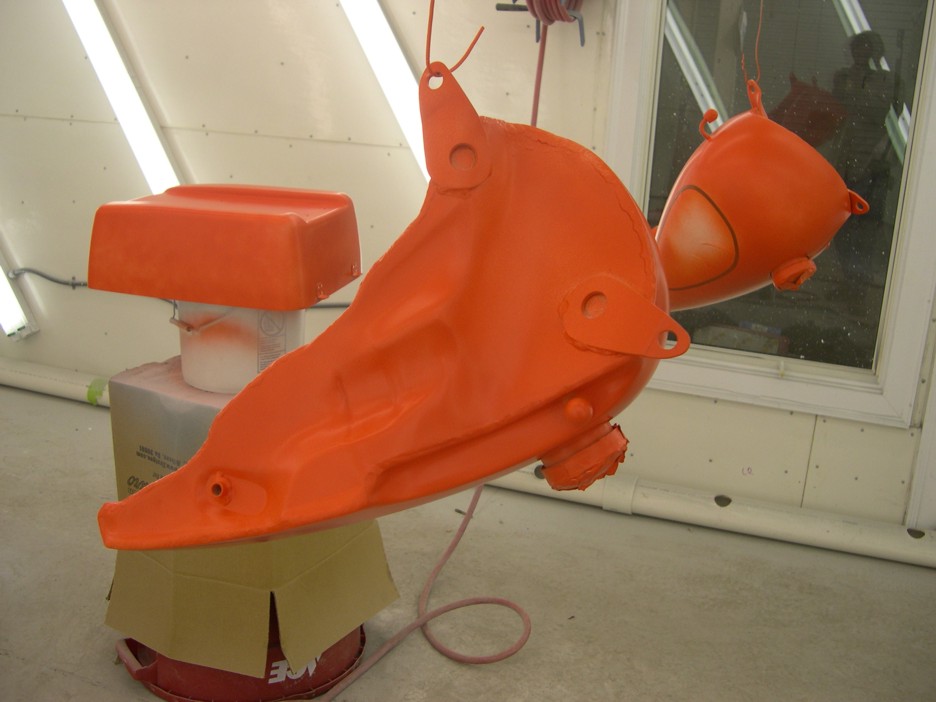
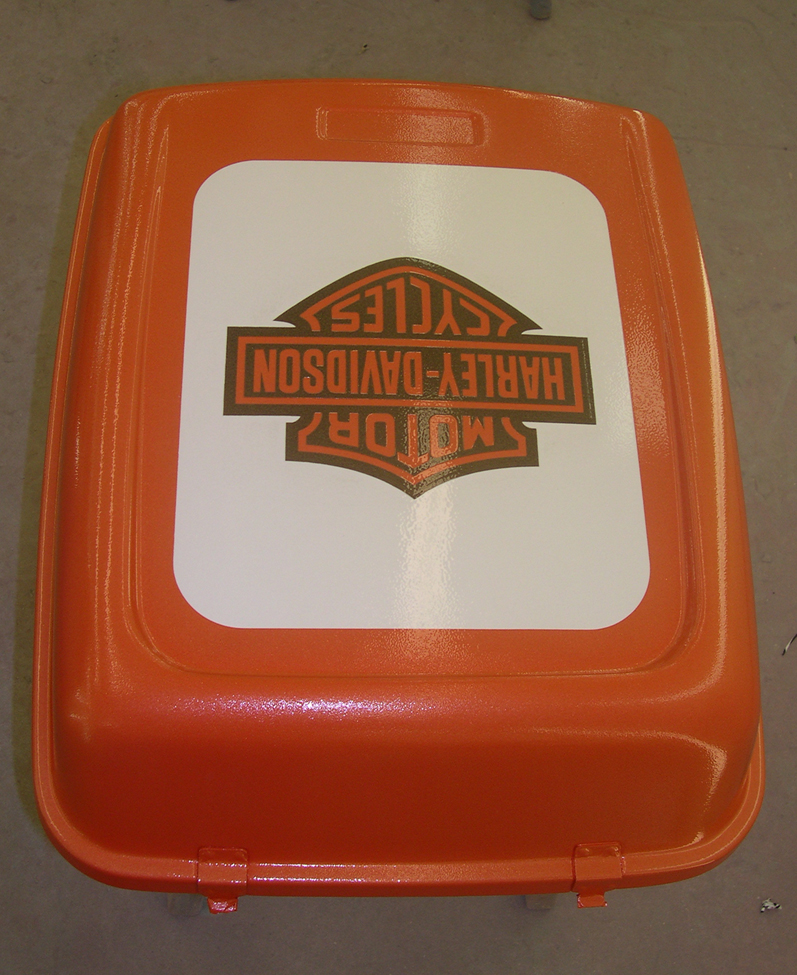
Then came two coats of orange. I used a pure orange color that was so bright you could almost call it a fluorescent color. The next step was another mask so that I could shoot the black for the H-D logo on the tourpak. Notice the series of computer cut masks that were applied then taped so that I could paint the Harley-Davidson Bar & Shield. There was too much real estate on the Tourpak not to put something on it and a sticker just wouldn't do it for this type project. Add another several hours cutting masks, squirting each color, changing out masks for the next color.
I let everything sit overnight again and the next morning I wet sanded all of the parts with 1,000 grit sandpaper. The topcoat was an orange pearl that I just kept laying on until I was happy with the final shade. The pearl toned down a lot of the starkness of the bright orange base. It is amazing how a painter can picture a job and the final color in his head and get exactly what he wanted. Until that pearl started hitting the tins even I had my doubts if I was going to hit my desired final color. But when it was done, it was dead stinking perfect.


After the pearl dried it was time to start wet sanding all over again. After wet sanding it was time for clear coat. After the clear it was time to color sand and buff the job. First with 800 grit, then 1,000 grit and finally 1,500. After the sanding I buffed all of the tins with 3M Perfect-it 3 and followed that with House-of-Color swirl remover. At this point, I was ready to build a bike. Nine months of hard labor and all I had was a bunch of parts. Hmmm....
DREAMSICKLE BUILD PAGE 1 DREAMSICKLE BUILD PAGE 2
DREAMSICKLE BUILD PAGE 3 DREAMSICKLE BUILD PAGE 4
DREAMSICKLE BUILD PAGE 5 DREAMSICKLE BUILD PAGE 6
DREAMSICKLE BUILD PAGE 7 DREAMSICKLE BUILD PAGE 8
DREAMSICKLE BUILD PAGE 9 DREAMSICKLE BUILD PAGE 10
NAVIGATION


THE PHOTOS & TEXT ON THIS SITE IS COPYRIGHTED. NO PORTION MAY BE REPRODUCED WITHOUT WRITTEN CONSENT.