

1978 H-D FLH BUILD: PAGE 8
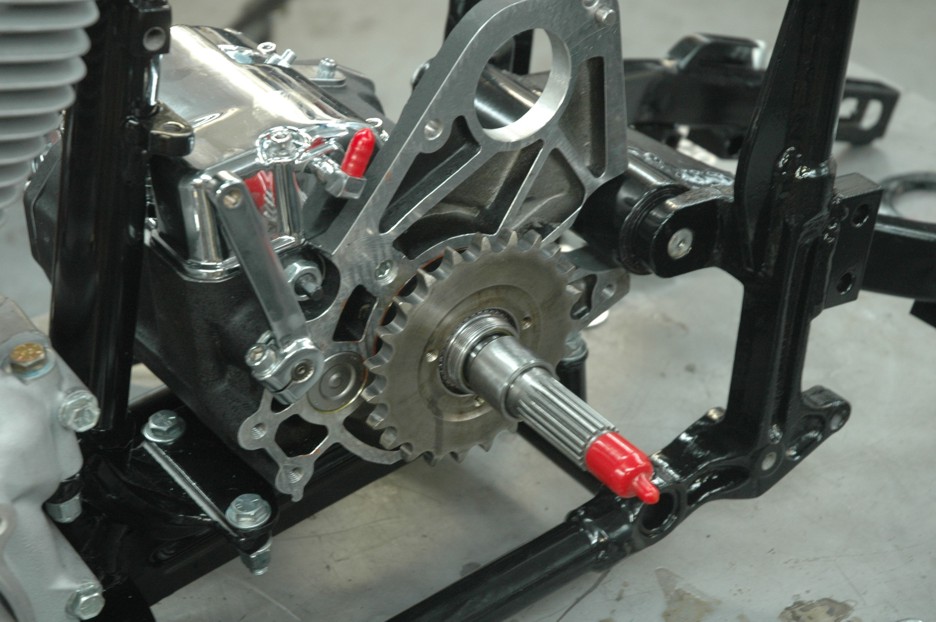
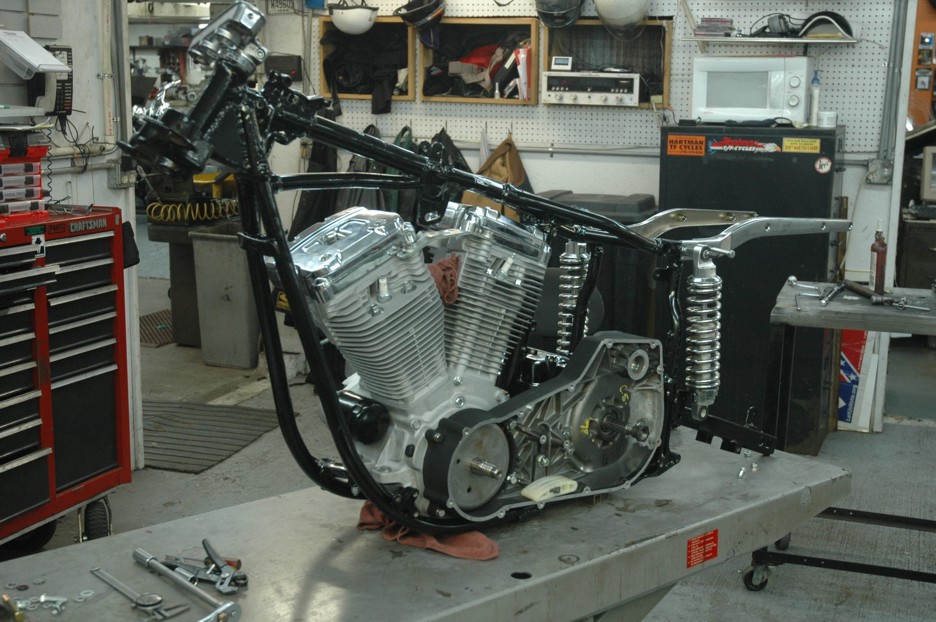
The bike is finally on the assembly rack. Notice the frame has received a top notch powder coat job since you last saw it. The superman arm holding the air wrench is Shane. Putting on the nut that holds the sprocket on the transmission is a "feels right" kind of job. He does this task on a regular basis so I pulled him off his job to put on this one nut. Details folks, right tool and the right man for every single task. Sure it screwed up his workflow but why would I care about some other dudes bike getting out on time.
All custom parts are made, frame modified, powdercoated, powertrain parts specified and purchased, paint done, polish and rechrome work done, etc. It was almost unbelievabe to see the basket cast finally starting to come together. Initinially the big chuncks went on quickly and it seemed like we were going to make short work of assembly. Psych... Big chuncks have a lot of little fine detail fitting and other parts to fit in between.
STARTING FINAL ASSEMBLY
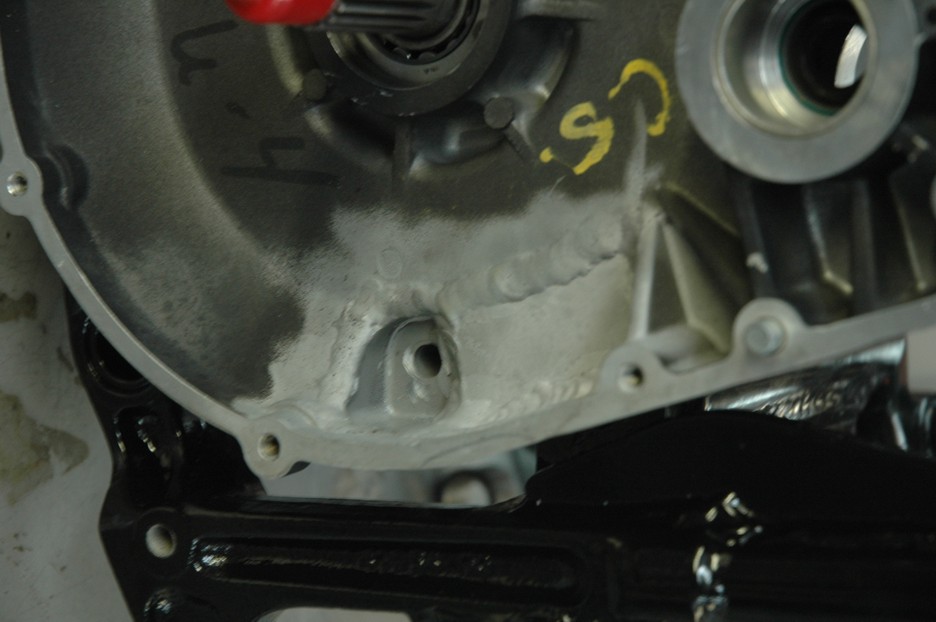

The 5 speed Twin Cam era primary was cut apart and rewelded so that we could make the Evo, Revtech 6 speed and 4 speed frame all get along. I guess if this thing breaks I ain't stopping by the closest MoCo dealership for parts. Click on the center picture above this paragraph to see just how this primary is custom built. Of course, this is a burly part and the odds of breaking it are slim.
THE REWORKED SWING ARM


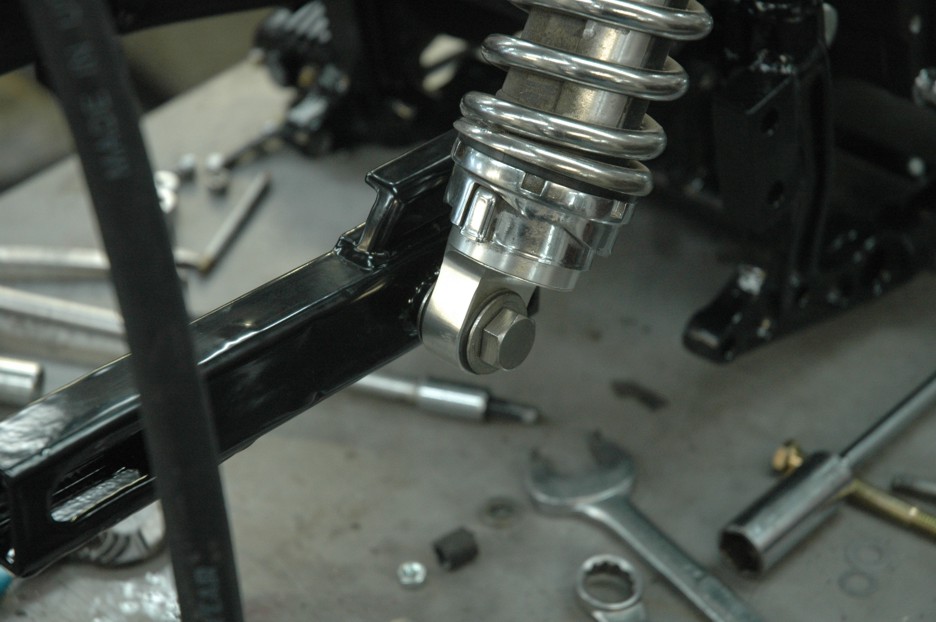
The shock mounts were shaved from the swing arm and moved to the center of the arm. This served two purposes. First it allowed the addition of a custom brake mount for the late model 11 inch brake caliper and let us use a jam nut against the shock bolt so that we could adjust the preload on the bottom shock bushings. Pretty high tech, eh? Notice the Progressive shocks that are springing the swing arm. Those are a 650.00 set of shocks, once again the very best part available for the job. My tail ain't so hard anymore so wanted to put as much softail in the bike as possible.
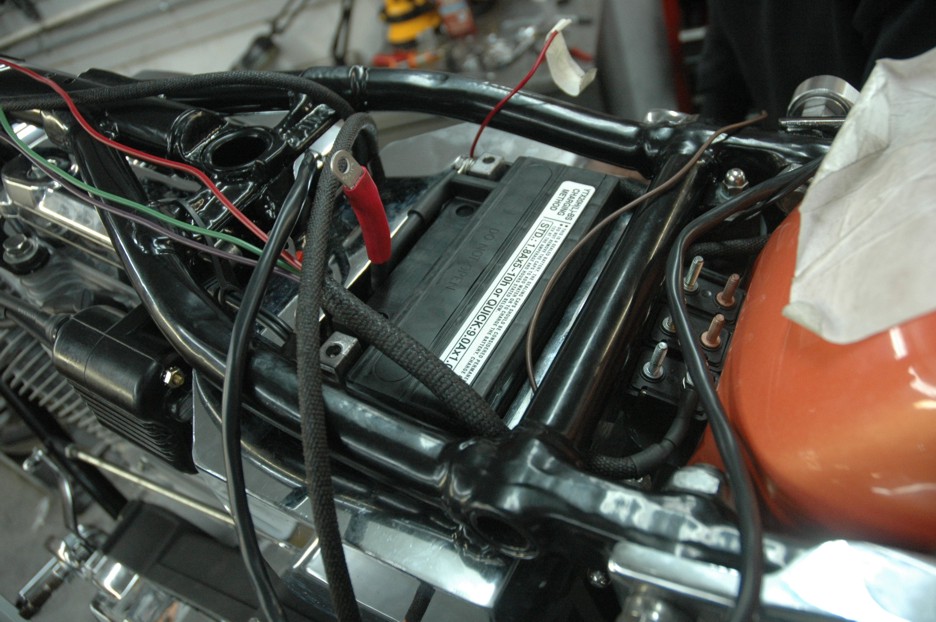
SWAPPED THE MOCO IGNITION FOR A CRANE HI-4 SINGLE FIRE
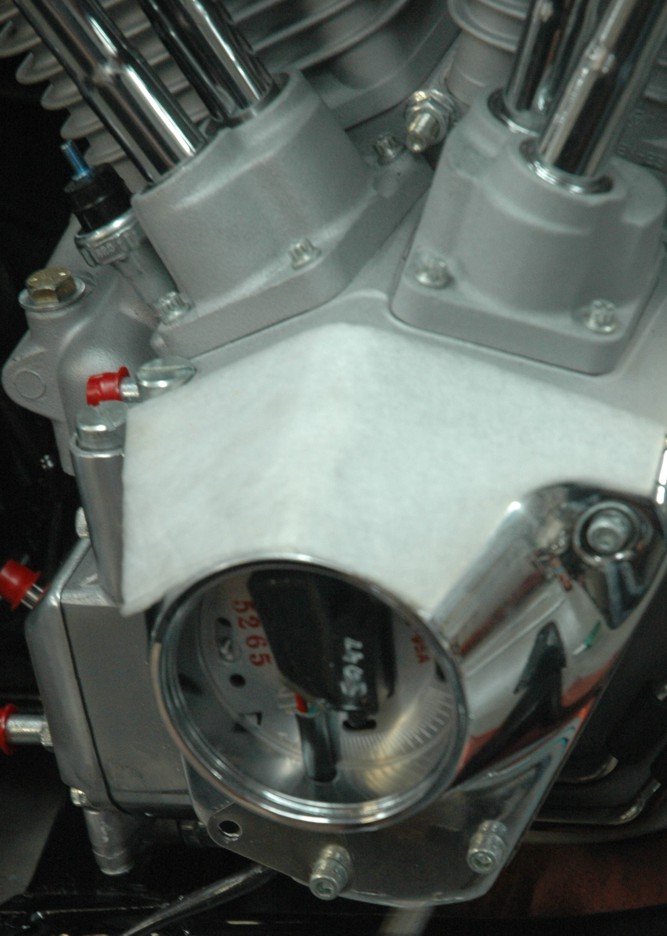


The factory ignition system has room for improvement on an Evolution engine. So while we were at the phase where it was an easy swap, a Crane single fire ignition was installed. This system gives a lot of latitude in adjustment so that the firing sequence can be adjusted for optimum output according to changes in other parts. Since the plan was to change the engine to hotter cams, high flow carburator, exhaust, air cleaner, etc. I needed to ability to tune the spark cycle to make it all get along together.
THE WIRING WASN'T A PICNIC
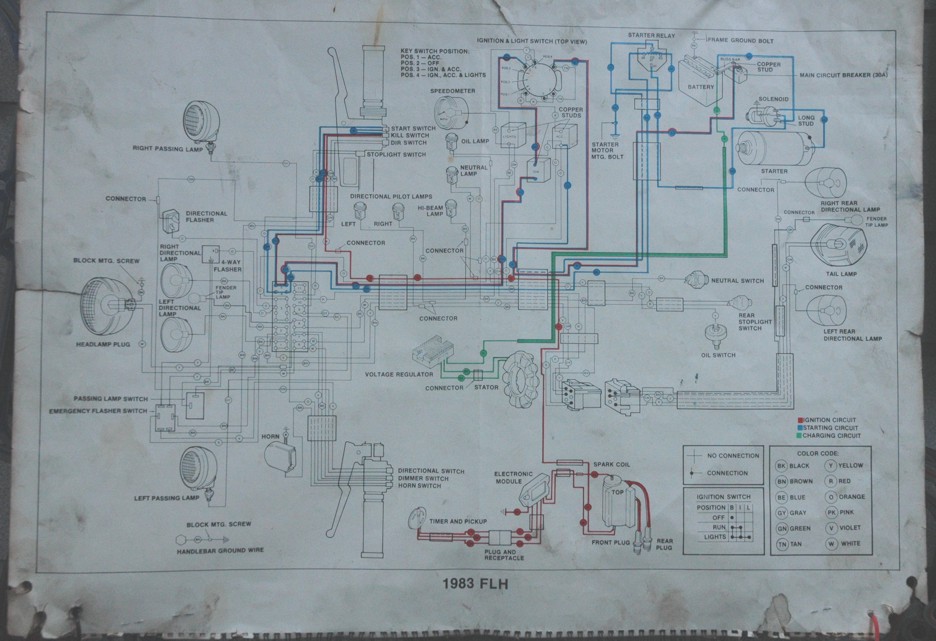
ASSEMBLING DEUTSCH CONNECTORS IS AS EASY AS PUTTING TOGETHER LEGGOS
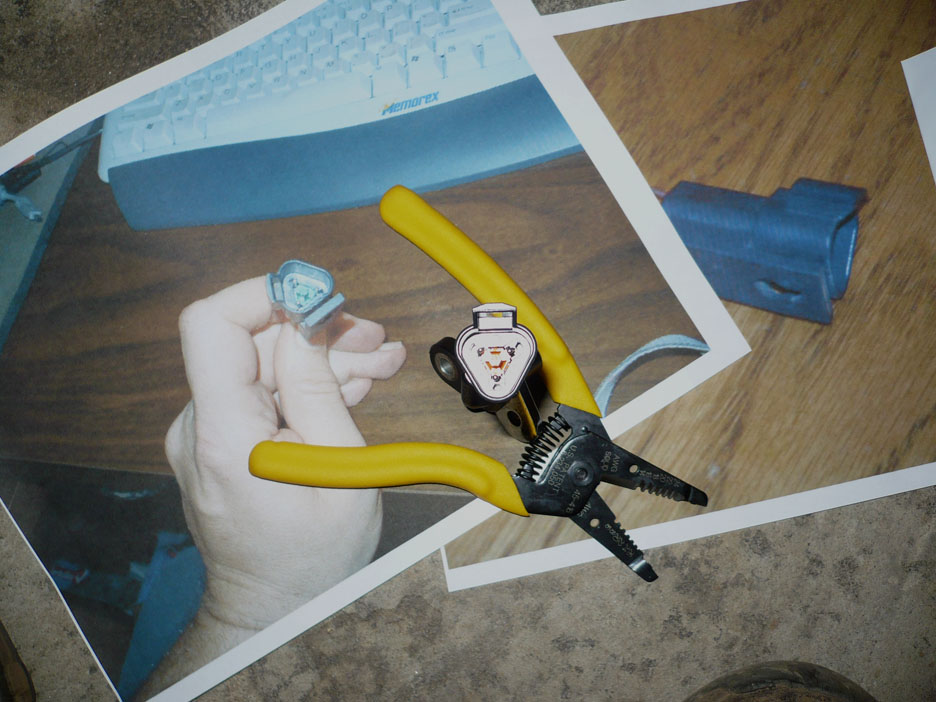


Before the wiring begain I choose a factory wiring diagram that best fit my application. A large part of the wiring harness and components came from a new factory harness. Since much of the build departed from MoCo specifications I had to make appropriate modifications. All wiring went into top quality looming for protection from the elements and any unforseen wear points. I also used Deutsch connectors as much as possible where plugs were required. While it takes special tooling to assemble these, the design is bomb proof and waterproof. Anywhere connectors were not feasable, old fashioned solder with name brand 3M glue lined heat shrink joined any connections to ensure nothing ever lost connection. Nothing worse than a rogue electrical gremlin to chase down.
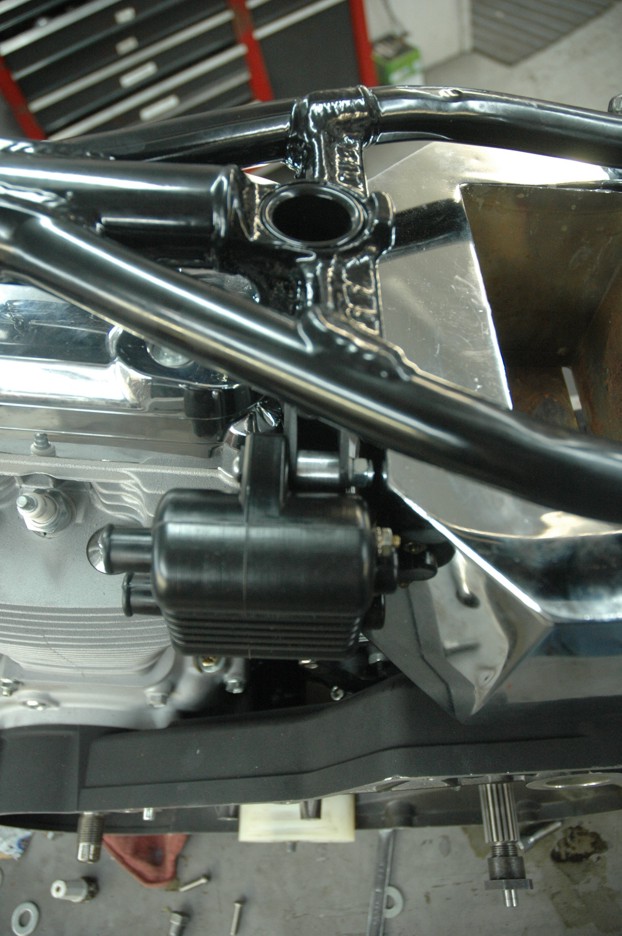
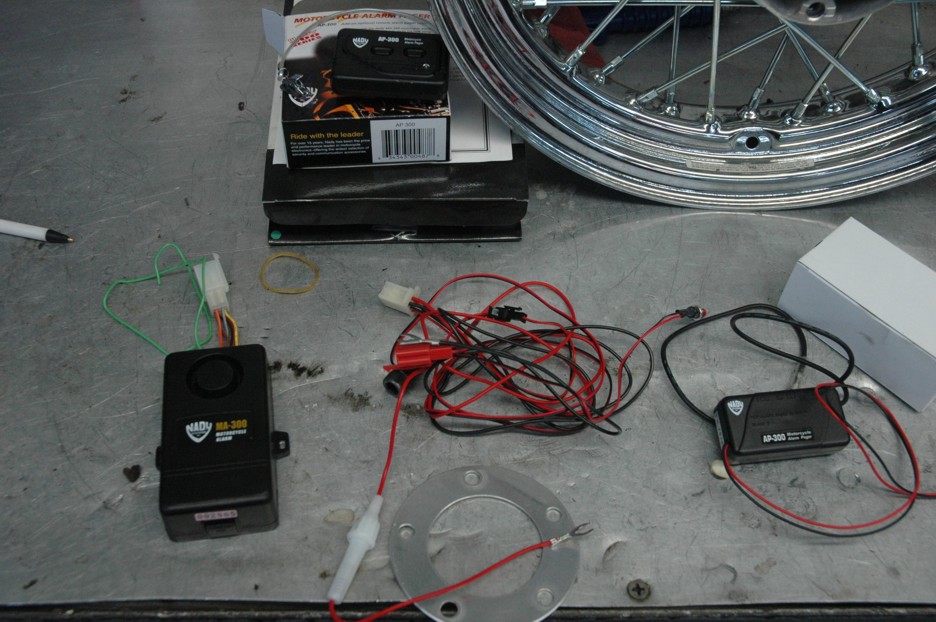
HIDING SOME OF THE ELECTRONICS IN PLAIN SIGHT


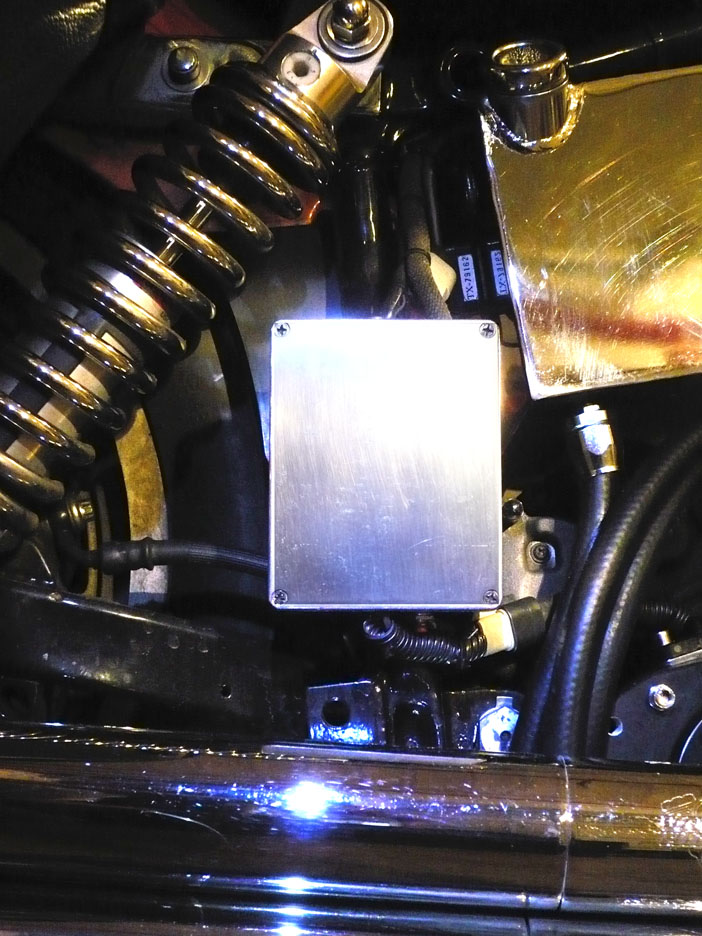
As I kept adding devices such as a paging alarm, speedometer calibration unit and other fluff it started getting hard to find locations to mount these gadgets. I wanted all of these items to be concealed but easy to access if the need arose to make adjustments. I remembered some aluminum project boxes I had left over from some old electronic projects and had a brainstorm. I polished one of the boxes, bolted it to the frame and buried the starter relay, speedo calibration unit, alarm rest button and remote pager antenna right in plain sight.
THE REWORKED EXHAUST SYSTEM


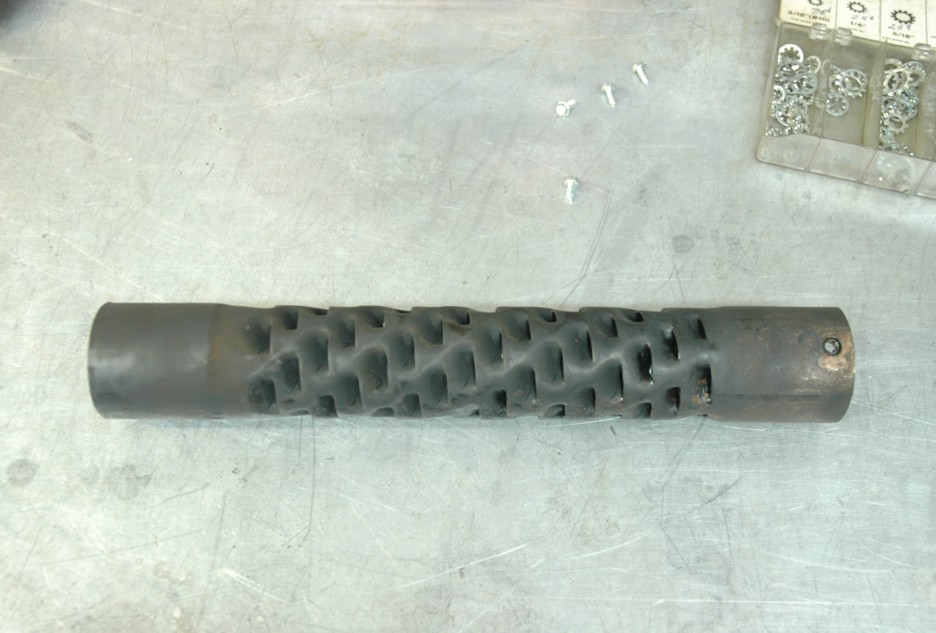
The exhaust is a set of Vance & Hines Longshots. The baffles are installed at the rear of these pipes by the manufacturer but I moved them as far forward as possible and reversed them. It sounds good and makes plenty of power. Since there were no "correct" factory solutions for this custom bike I used a set built for a late model twinkie with a little chopping and rebending to make them fit the evolved shovel quite nicely. A stock 4 speed exhaust mounting bracket was cut apart, reshaped and welded together so it all got supported well. I carry an extra set of 2.5" shorty baffles in my saddle bags that I can slide into the factory rear position if I am going to have to travel through a town with one of the new noise ordinances.
THE REAR WHEEL IS CORRECT FOR THE 1978 PROJECT
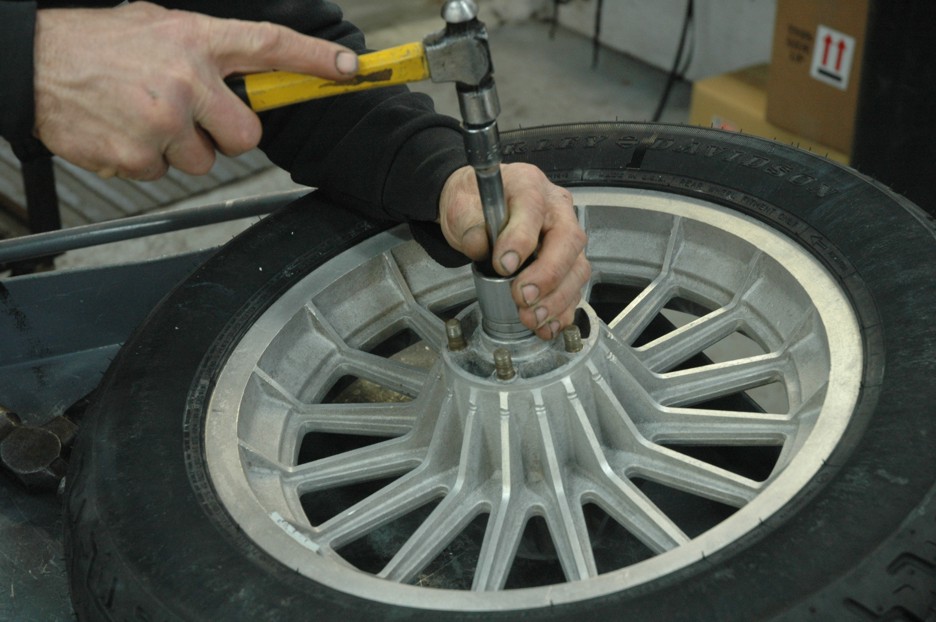
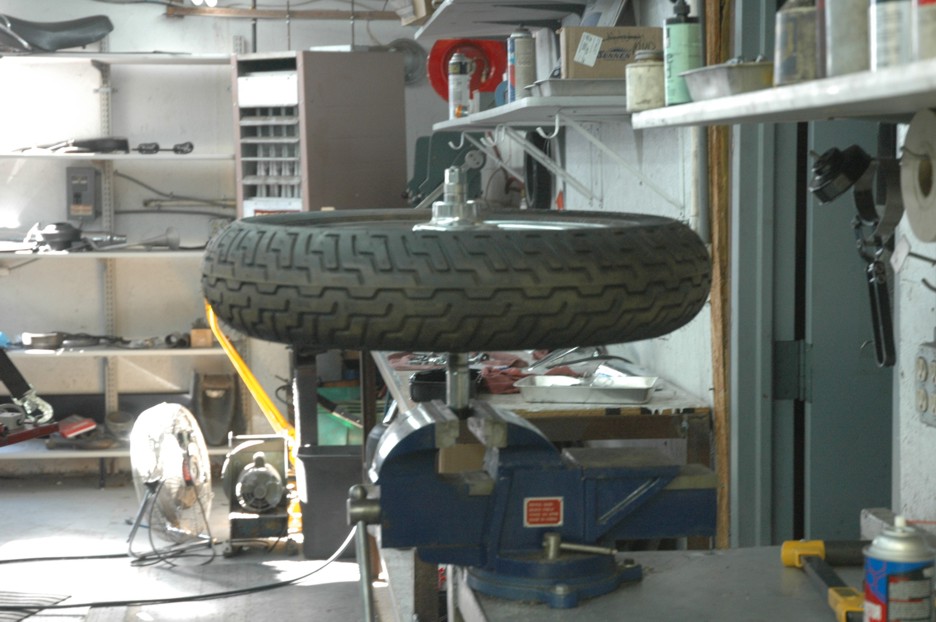

I managed to find a factory correct rear wheel for this build. While the aluminum mag wheel is not a match to the front wire spoke, it is hidden behind so much stuff it is hardly visible. A tueless mag wheel is much easier to do an emergency patch and pump job on the side of the road so being able to home without a wrecker for a minor deal such a a flat tire was paramont.
DREAMSICKLE BUILD PAGE 1 DREAMSICKLE BUILD PAGE 2
DREAMSICKLE BUILD PAGE 3 DREAMSICKLE BUILD PAGE 4
DREAMSICKLE BUILD PAGE 5 DREAMSICKLE BUILD PAGE 6
DREAMSICKLE BUILD PAGE 7 DREAMSICKLE BUILD PAGE 8
DREAMSICKLE BUILD PAGE 9 DREAMSICKLE BUILD PAGE 10
NAVIGATION


THE PHOTOS & TEXT ON THIS SITE IS COPYRIGHTED. NO PORTION MAY BE REPRODUCED WITHOUT WRITTEN CONSENT.